
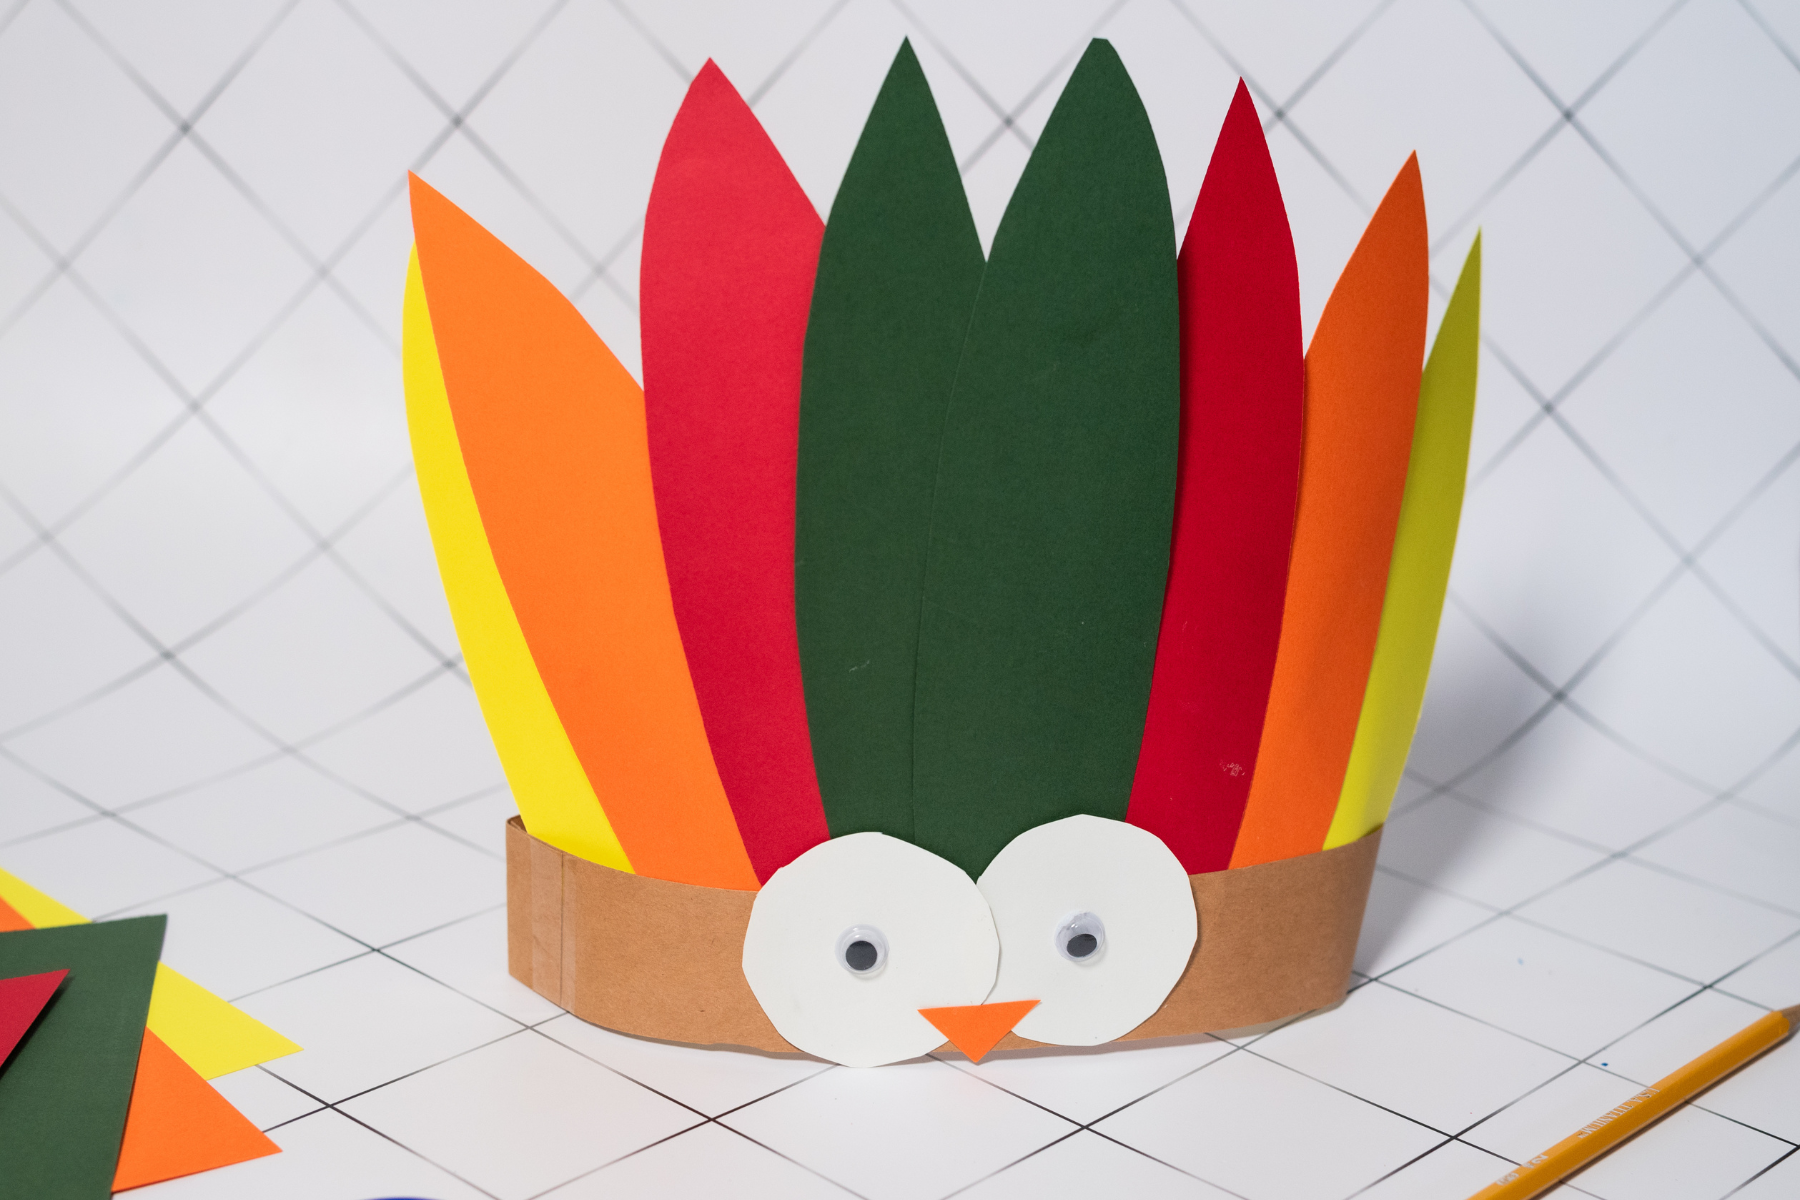
If you’re looking for a simple Thanksgiving craft to do with the kids, this turkey headband is such a fun one. It’s made with construction paper, googly eyes and a few basic craft supplies, so there’s nothing complicated to buy or prepare beforehand.
Kids can have fun choosing the colors for their turkey feathers and putting the face together, then they get to wear their creation when they’re finished. It would be a cute activity for the run-up to Thanksgiving, or something to make at home on Thanksgiving Day while everyone’s waiting for dinner.

Why We Love This Turkey Headband Craft
- It’s nice and simple. There’s nothing too fiddly involved and you only need a few basic craft supplies to make it.
- Kids can make it their own. They can choose different colors for the feathers, add more feathers or make a completely different turkey face if they want to.
- They can actually wear it afterwards. I always think crafts are a bit more fun when kids can play with them or wear them once they’ve finished.
- It’s perfect for Thanksgiving. This would be a fun little activity in the days leading up to Thanksgiving or something to keep the kids busy on Thanksgiving Day.
- It doesn’t take loads of preparation. If you already have a stash of construction paper, glue and googly eyes, you’ll probably have most of what you need.
What You’ll Need
You don’t need anything fancy for this one, just some basic craft supplies. If you do crafts with the kids fairly often, there’s a good chance you’ll already have most of these at home.
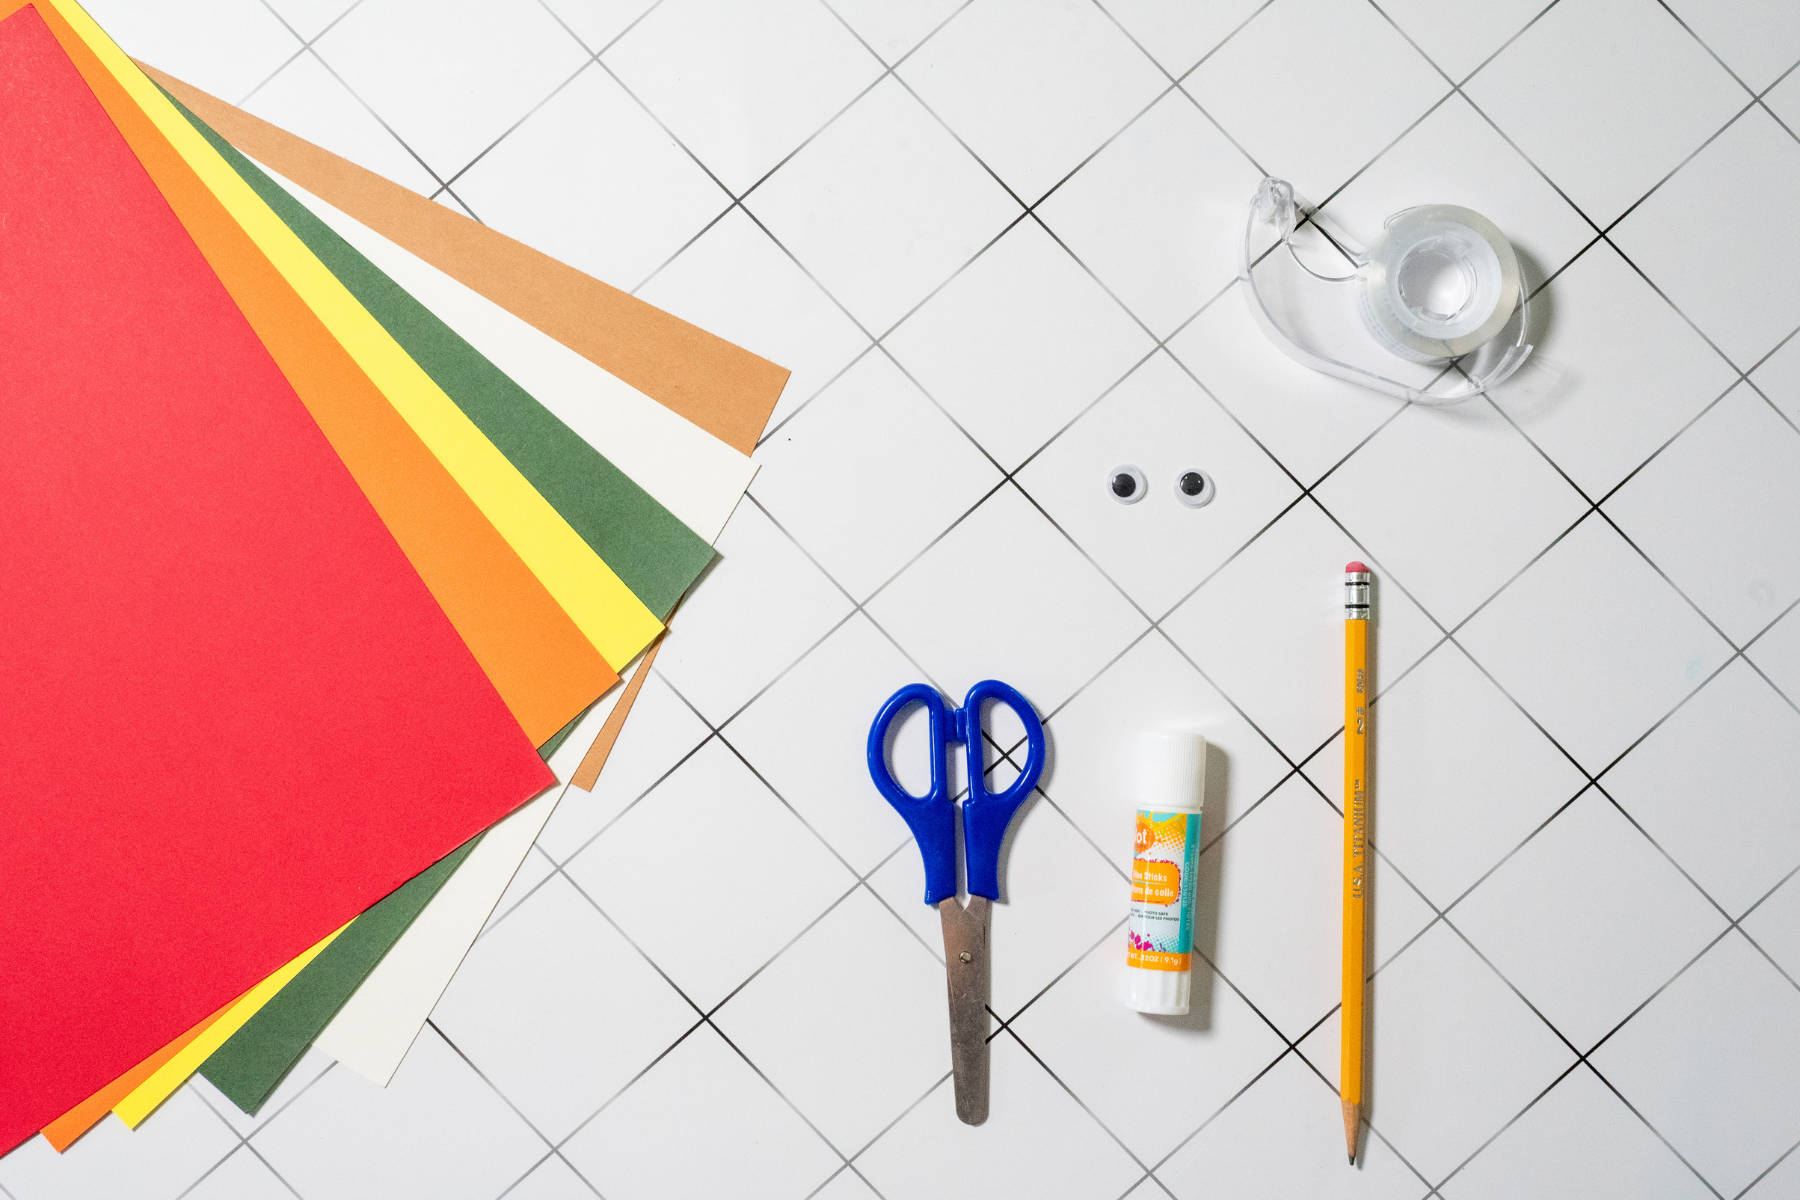
- Construction paper: Light brown for the headband, plus red, yellow, orange and green for the feathers. You can use the orange paper for the beak too.
- White construction paper: You’ll need a small amount for the circles behind the googly eyes.
- Googly eyes: The bigger ones work really well for the turkey’s face.
- Pencil: For drawing out the feather shapes before you cut them.
- Scissors: Kid-safe scissors are a good option if the kids are doing their own cutting.
- Glue: Either a glue stick or liquid school glue will work.
- Tape: This makes it easy to join the strips of brown paper together and get the headband to fit.
How to Make a Turkey Headband
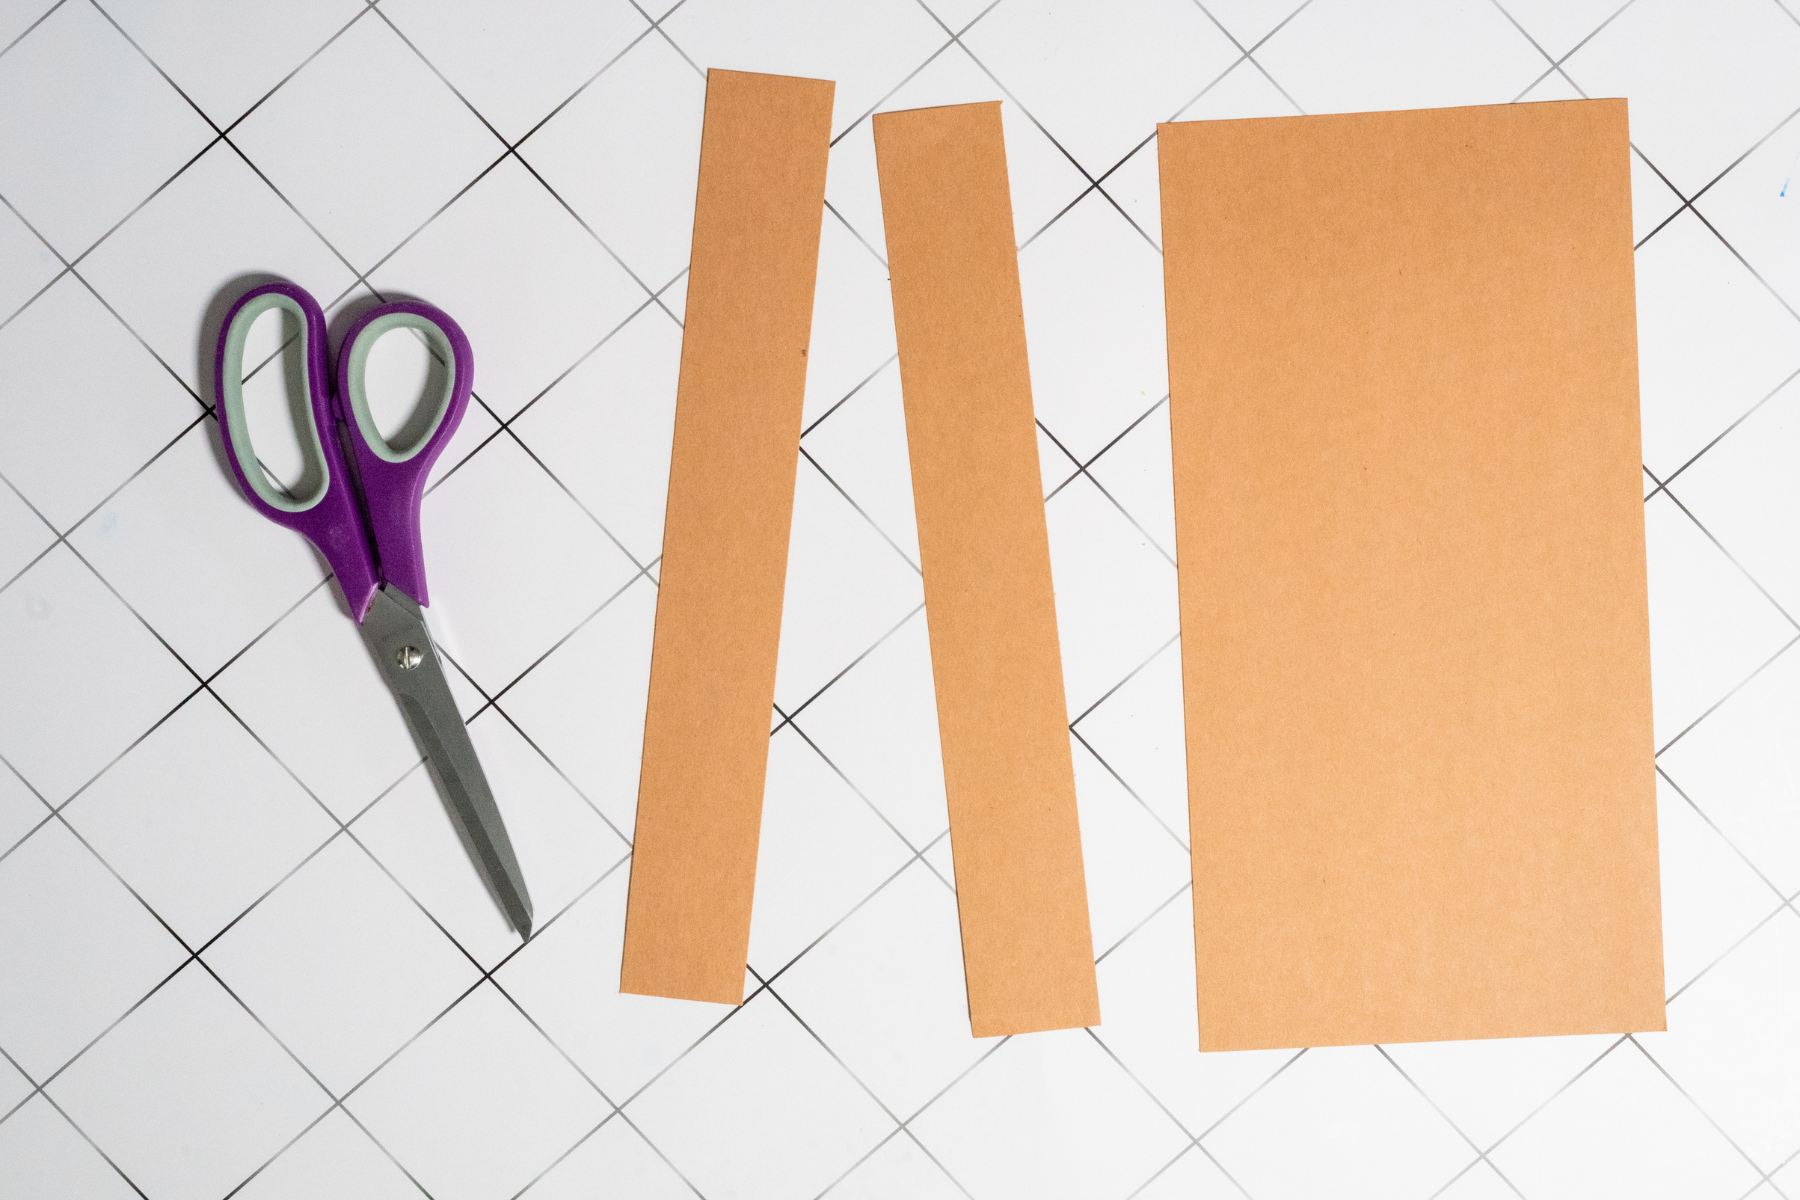
Step 1: Make the Headband: Cut two long, wide strips from the light brown construction paper. Tape the ends of the two strips together to make one long strip. Wrap it loosely around your child’s head to work out the right size, then tape the remaining ends together to make the headband.

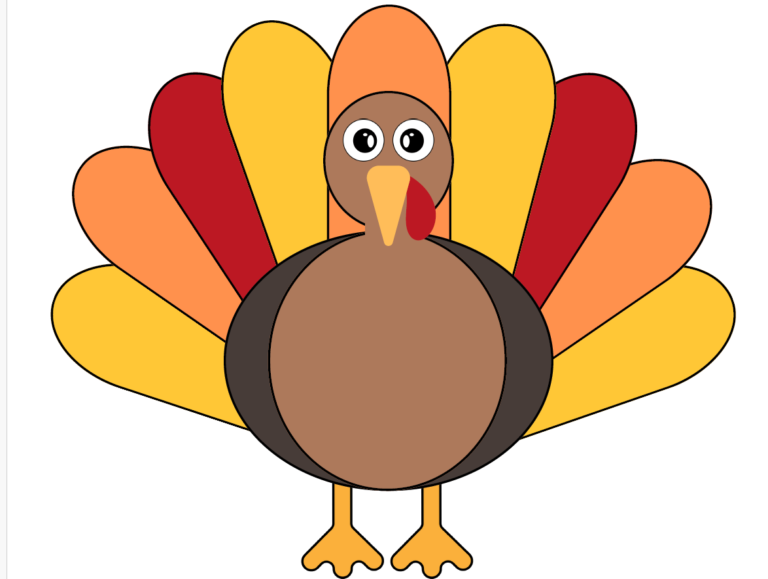
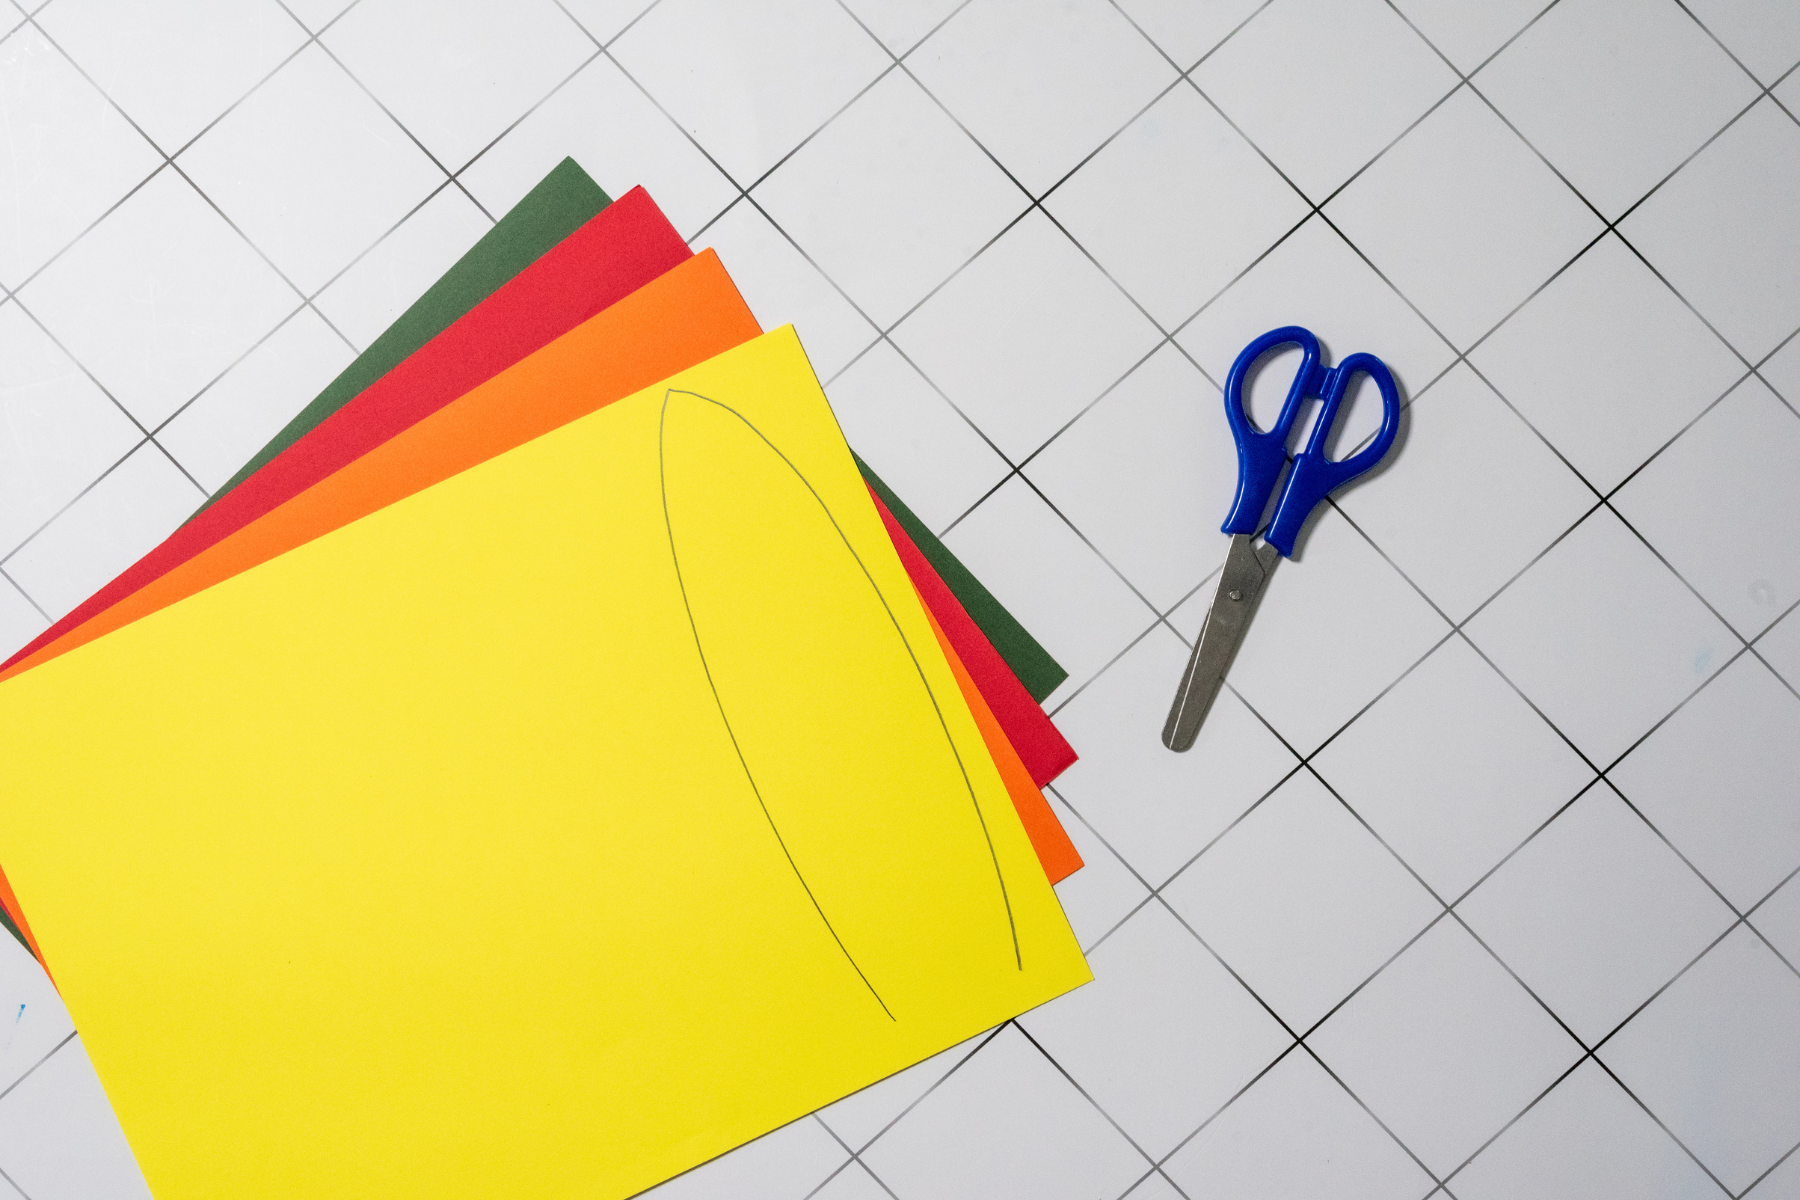
Step 2: Cut Out the Feathers and Face: Use a pencil to draw large feather shapes onto the red, yellow, orange and green construction paper. They don’t need to be perfect, so simple long oval shapes work well. Draw a small triangle on the orange paper for the turkey’s beak. Then draw two large circles on the white construction paper for the eyes. Cut out all of the feathers, the orange beak and the two white circles.
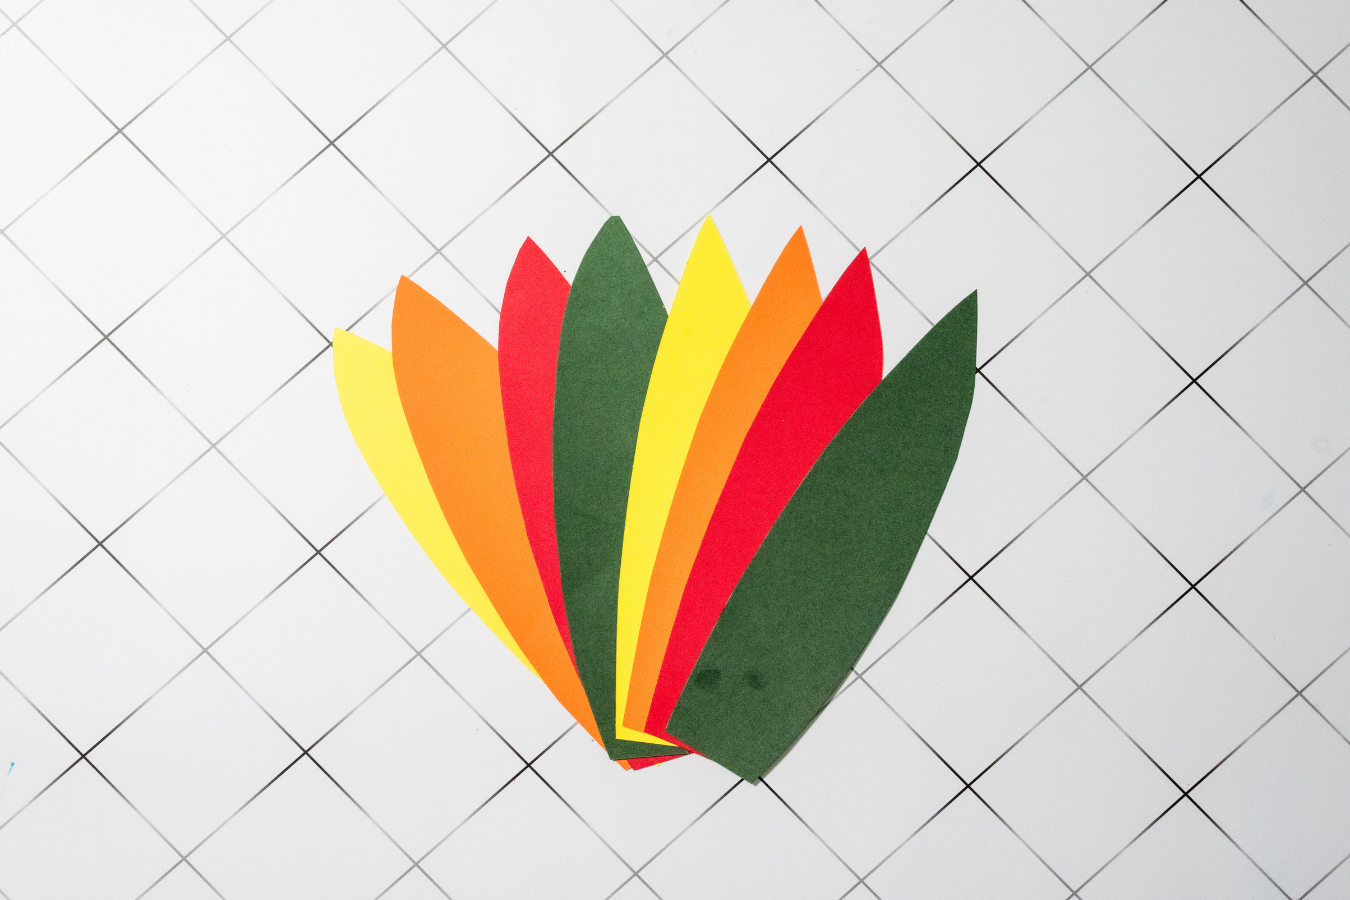
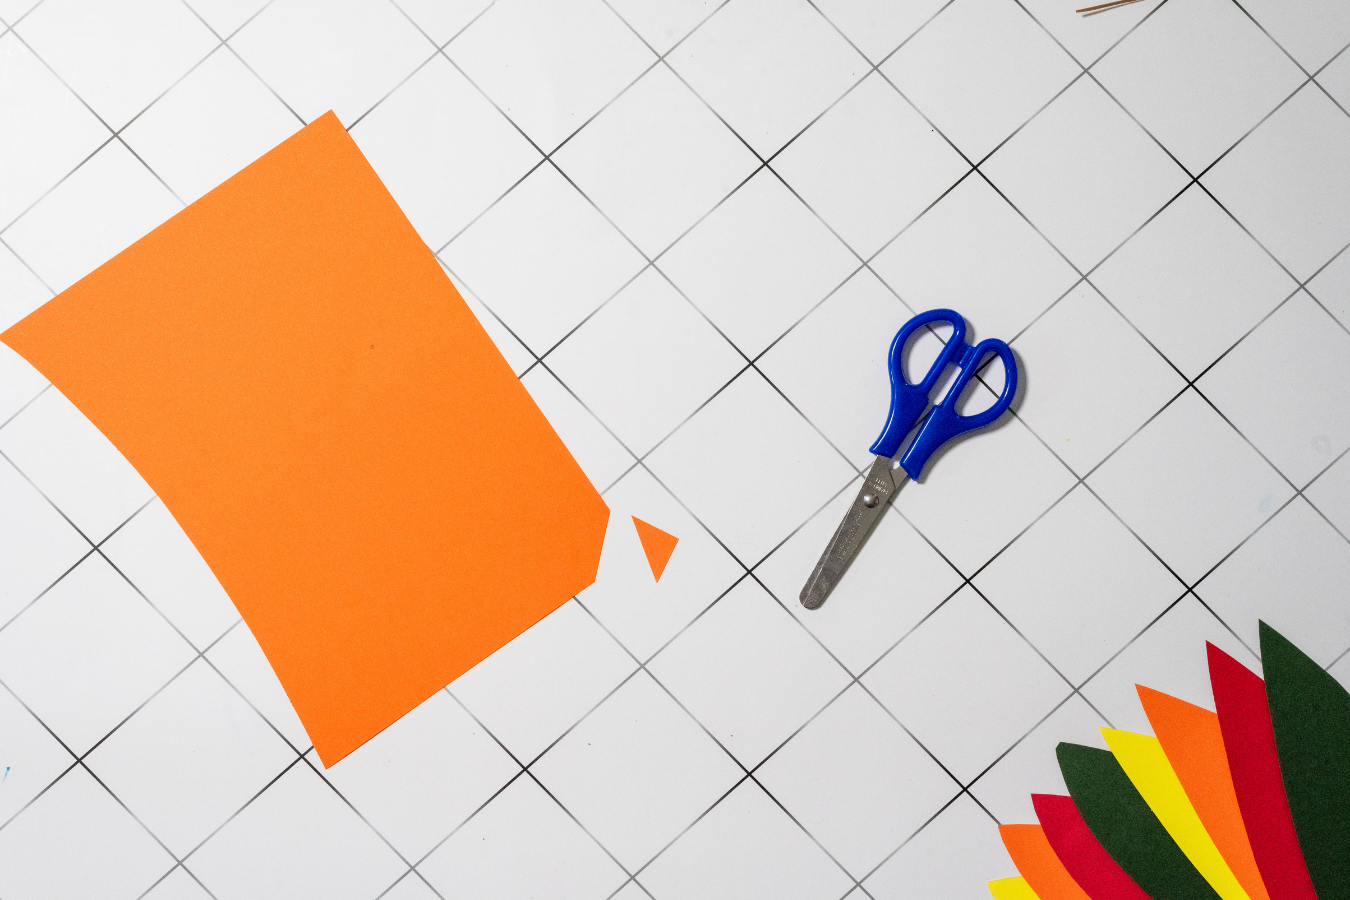
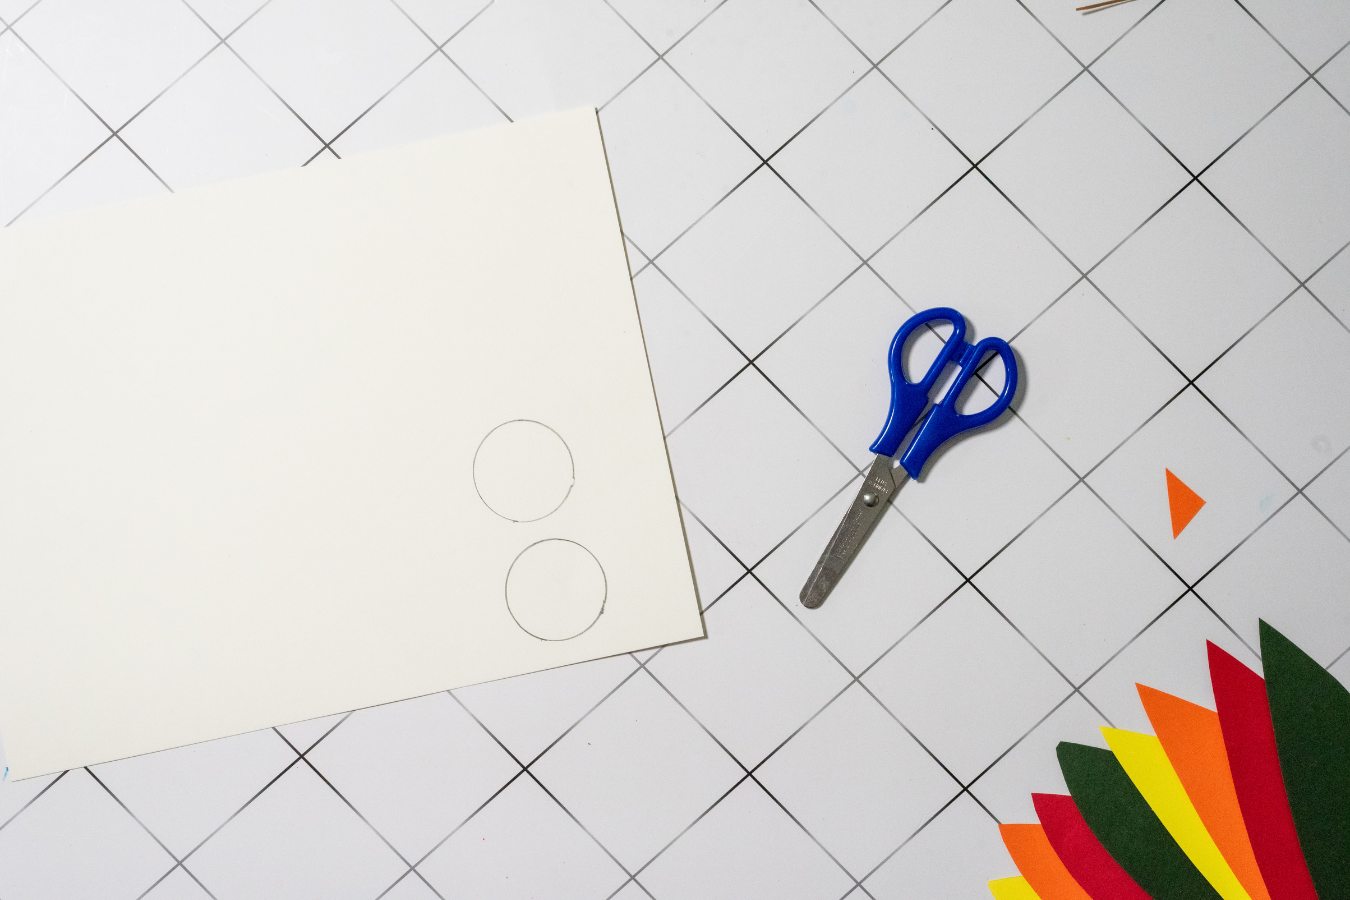
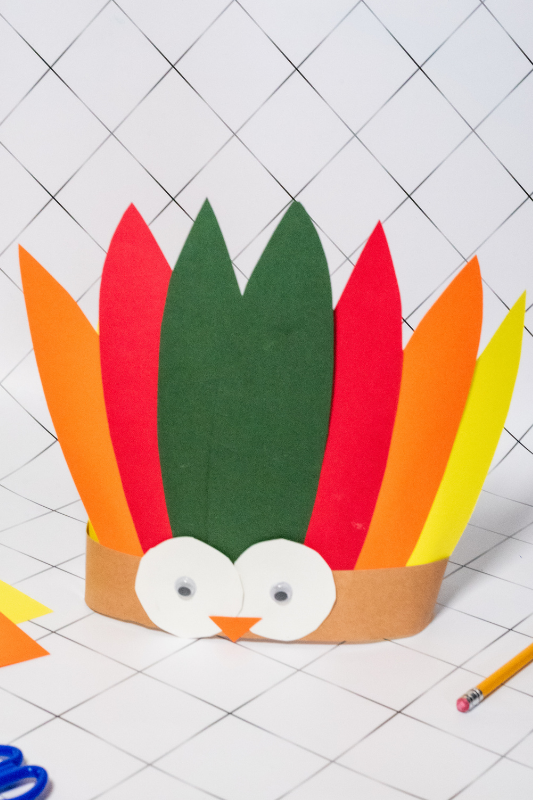
Step 3: Add the Feathers: Arrange the paper feathers in a fan shape, overlapping them slightly as you go. Once you’re happy with how they look, glue them to the back of the headband so that they stick up above the top.
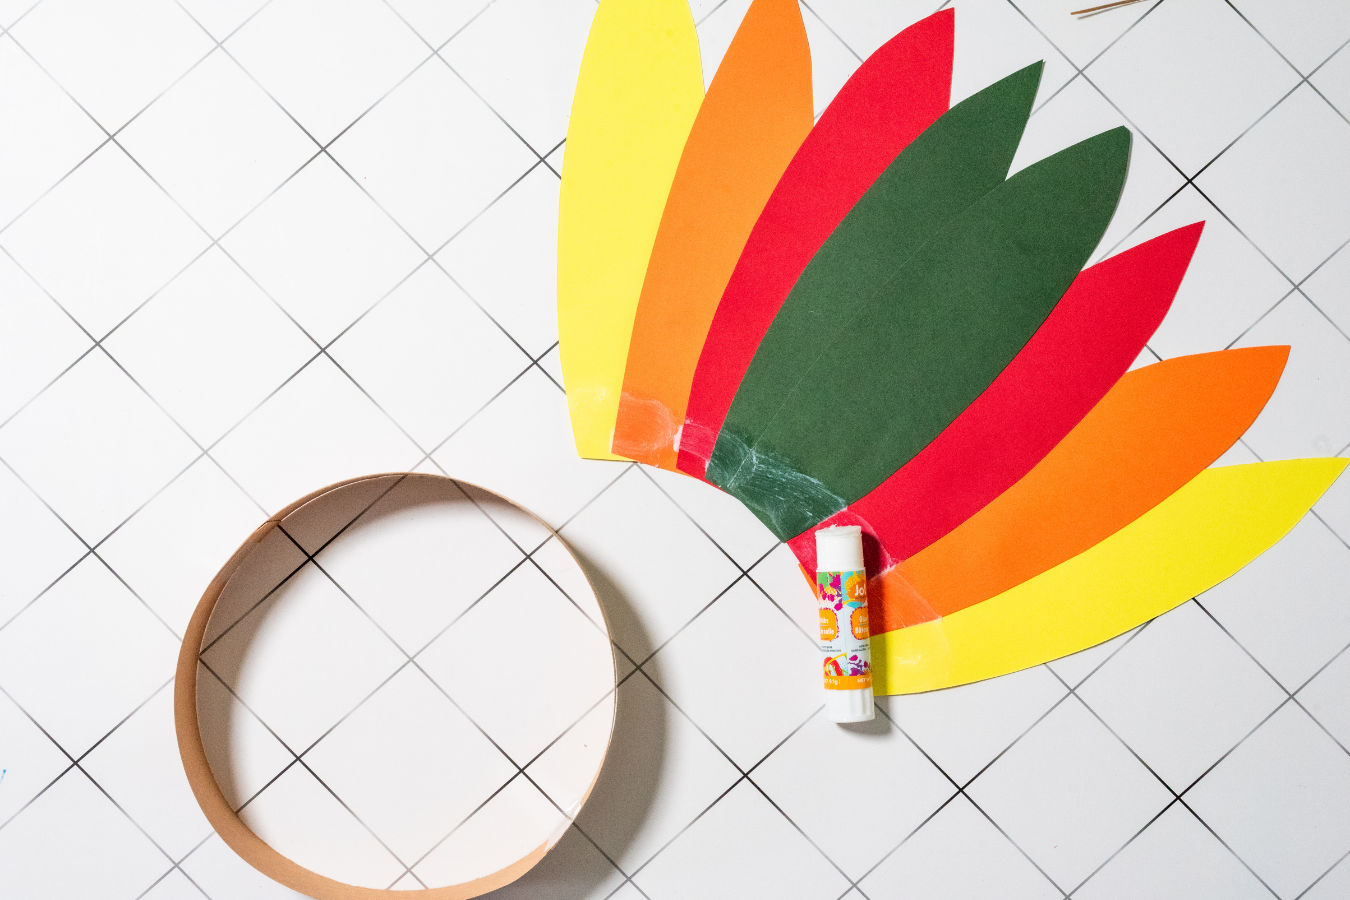

Step 4: Make the Eyes: Glue the two white circles onto the front of the headband. Add a googly eye to the middle of each white circle.

Step 5: Finish the Turkey’s Face: Glue the orange triangle underneath the eyes to make the turkey’s beak. Position the eyes and beak in the middle of the headband, with the eyes slightly overlapping the bottom of the colorful feathers. Leave everything to dry properly before wearing your finished turkey headband.

Tips for Making Your Turkey Headband
- Check the size before you tape it together. Wrap the brown strip around your child’s head first so you can get a comfortable fit without it being too tight.
- Don’t worry about perfect feathers. They really don’t need to all be exactly the same shape or size. Once they’re fanned out together, they’ll look great anyway.
- Use whatever colors you have. Red, orange, yellow and green work well for Thanksgiving, but there’s no reason kids can’t pick their own colors.
- Add as many feathers as you like. A few larger feathers will work, or you can cut out lots of smaller ones for a fuller turkey tail.
- Let the glue dry before wearing it. Especially if you’ve used liquid glue, give everything a little time to dry so you don’t end up with feathers falling off as soon as the headband goes on.
- Help younger kids with the cutting. They can still draw the shapes, choose the colors and stick everything together while an adult takes care of any trickier cutting.
Ways to Customize Your Turkey Headband
There are loads of little ways kids can make their turkey headband look different, so I wouldn’t worry too much about following the colors and design exactly. Let them raid the craft supplies and see what they come up with.
- Change the feather colors. Stick with traditional fall colors or let the kids choose completely different ones.
- Add extra feathers. Make the turkey tail bigger by adding another layer of paper feathers at the back.
- Decorate the feathers. Kids can add dots, stripes, squiggles or little drawings with markers or crayons.
- Add some sparkle. A little glitter glue on the feathers is an easy way to make it a bit more colorful.
- Try different googly eyes. Use really big ones, tiny ones or even mismatched sizes for a sillier-looking turkey.
- Add a wattle. Cut a little wobbly shape from red construction paper and glue it underneath the beak.
Turkey Headband Craft FAQs
What age is this turkey headband craft suitable for?
This turkey headband craft works well for preschool and elementary-aged kids. Younger children might need some help cutting out the feathers and getting the headband to the right size, but they can still do plenty of the decorating and gluing themselves.
What kind of paper should I use to make a turkey headband?
Construction paper works really well because it’s easy for kids to cut and comes in lots of colors. I used light brown construction paper for the headband and different fall colors for the turkey feathers.
Can I make this Thanksgiving turkey headband without googly eyes?
Definitely. If you don’t have googly eyes, simply draw the eyes on with a marker or cut smaller circles from black construction paper and glue them onto the white circles.
How do I make the turkey headband fit my child?
Before taping the final ends together, gently wrap the strip of brown construction paper around your child’s head and mark where it needs to join. Leave it slightly loose so it’s comfortable to wear.
Can preschoolers make this turkey headband craft?
Yes, although they’ll probably need a little adult help. You could cut out the construction paper pieces beforehand and let younger kids concentrate on arranging the turkey feathers and putting the face together.
What can I use instead of construction paper?
Cardstock is another option and will make a slightly sturdier turkey headband. You could also use craft foam for some of the smaller pieces if that’s what you already have at home.

Turkey Headband Craft for Kids
Make this cute turkey headband craft for Thanksgiving using construction paper, googly eyes and a few basic craft supplies. It’s a simple Thanksgiving activity for kids and they’ll have a fun turkey headband to wear when they’re finished.
Materials
- Light brown construction paper
- Red construction paper
- Yellow construction paper
- Orange construction paper
- Green construction paper
- White construction paper
- Plastic googly eyes
- School glue
- Tape
Tools
- Pencil
- Scissors
Instructions
1. Make the Headband
Cut two long, wide strips from the light brown construction paper. Tape the ends of the two strips together to make one long strip.
Wrap it loosely around your child’s head to work out the right size, then tape the remaining ends together to make the headband.
2. Cut Out the Feathers and Face
Use a pencil to draw large feather shapes onto the red, yellow, orange and green construction paper. They don’t need to be perfect, so simple long oval shapes work well.
Draw a small triangle on the orange paper for the turkey’s beak. Then draw two large circles on the white construction paper for the eyes.
Cut out all of the feathers, the orange beak and the two white circles.
3. Add the Feathers
Arrange the paper feathers in a fan shape, overlapping them slightly as you go. Once you’re happy with how they look, glue them to the back of the headband so that they stick up above the top.
4. Make the Eyes
Glue the two white circles onto the front of the headband. Add a googly eye to the middle of each white circle.
5. Finish the Turkey’s Face
Glue the orange triangle underneath the eyes to make the turkey’s beak. Position the eyes and beak in the middle of the headband, with the eyes slightly overlapping the bottom of the colorful feathers.
Leave everything to dry properly before wearing your finished turkey headband.
Notes
- Check the headband size around your child’s head before taping the ends together.
- The feather shapes don’t need to be perfect or all the same size.
- Feel free to swap the feather colors for whatever construction paper you have.
- Younger kids may need some help cutting out the smaller pieces.
- If you use liquid glue, let the headband dry properly before wearing it.
- Add extra feathers if you want to make the turkey tail bigger and fuller.