
Halloween crafts don’t need to be complicated, especially when you’re making them with kids. This handprint witch is really easy to put together using construction paper, paint, and a few basic craft supplies you might already have at home.
I love handprint crafts because they’re fun to make but also end up being a cute little keepsake. Kids can get involved with painting their hand, adding the witch’s face, and decorating the background with bats, stars, and a moon to make their witch completely their own.

Handprint Witch Craft
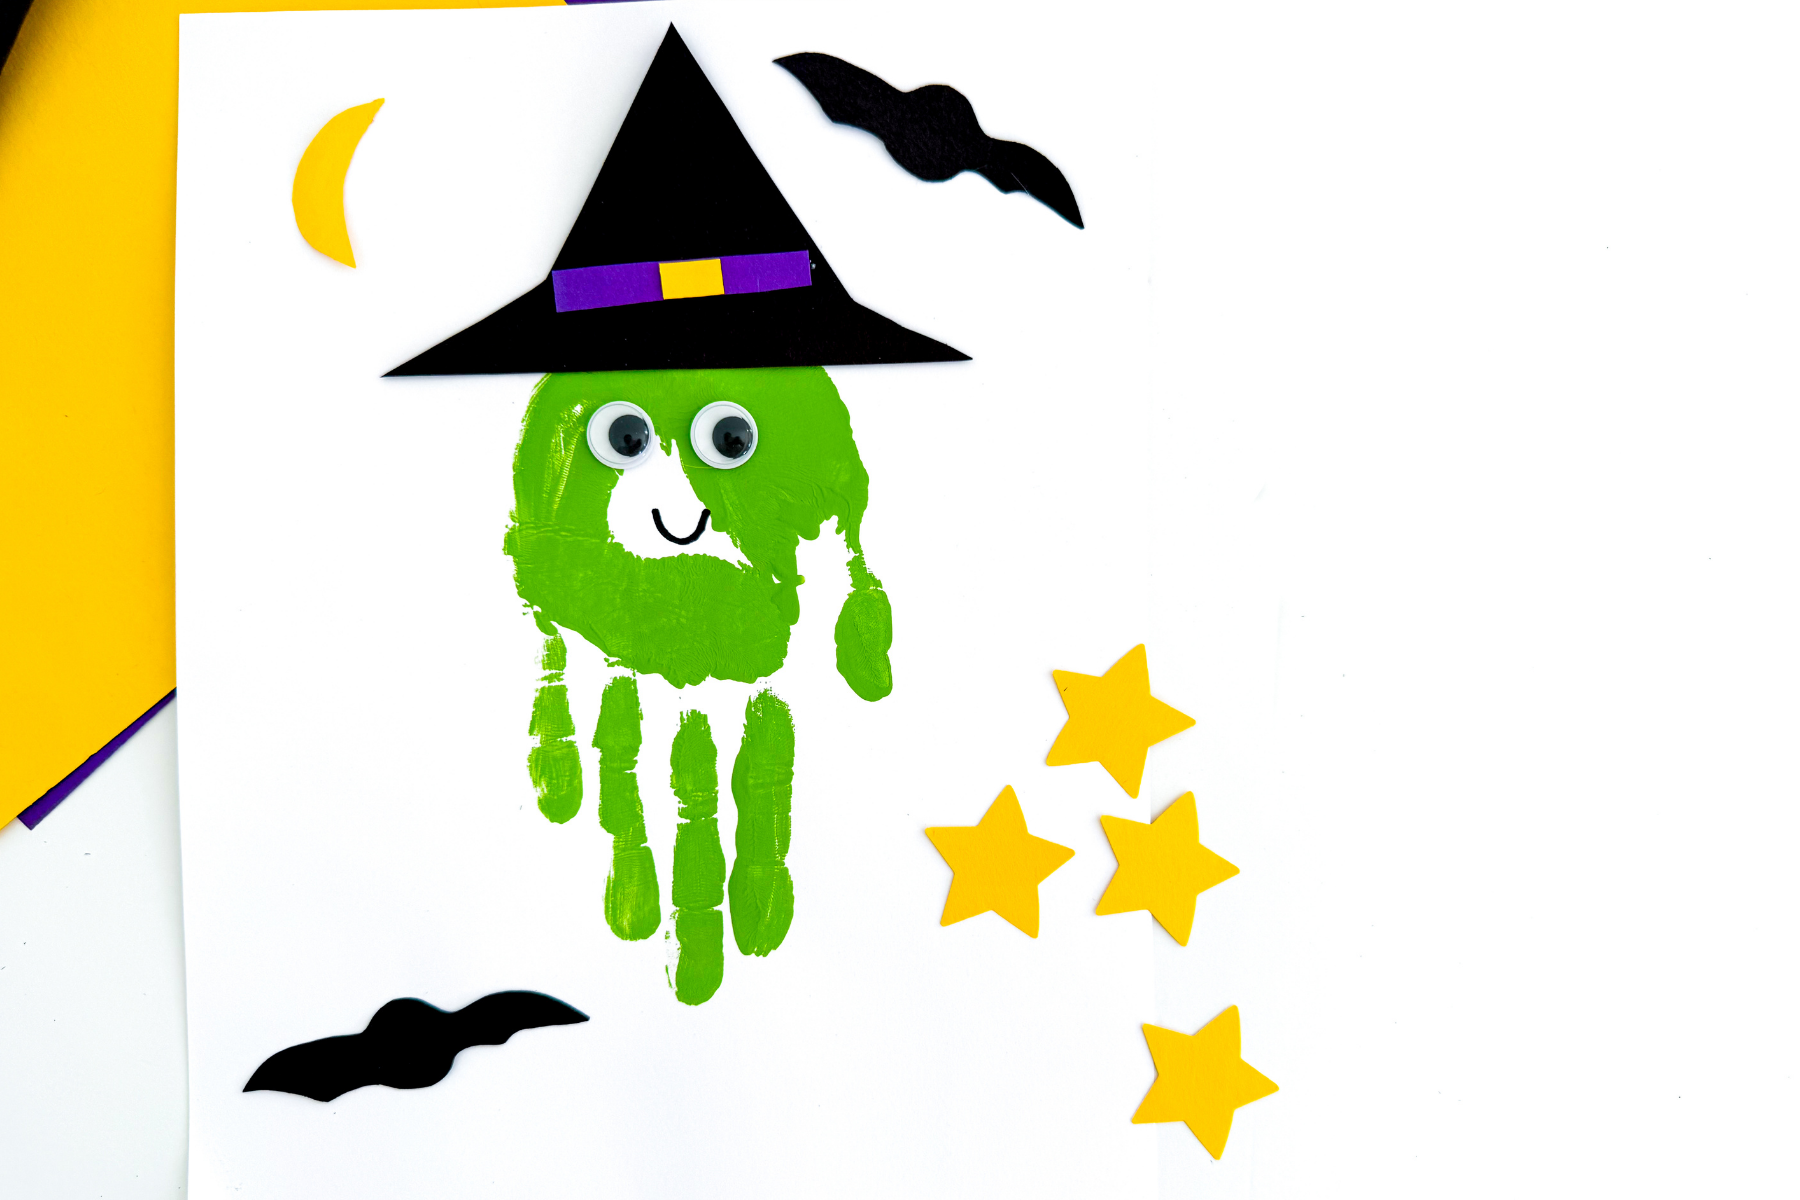
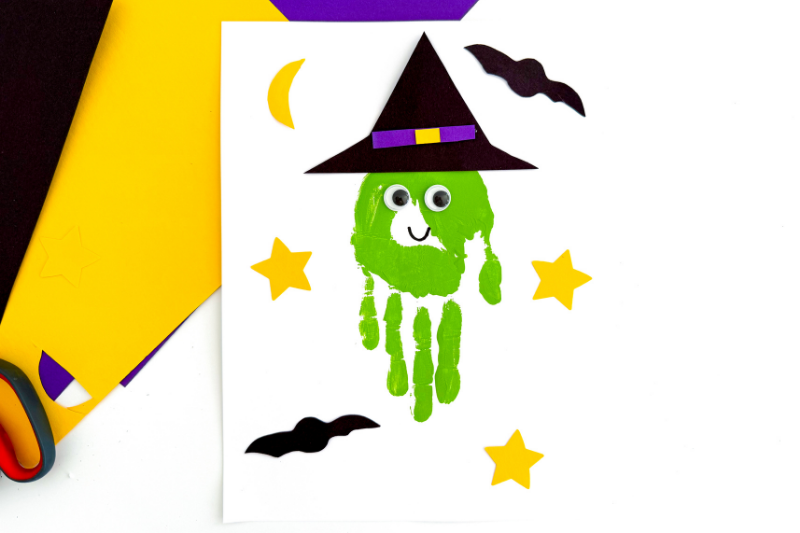
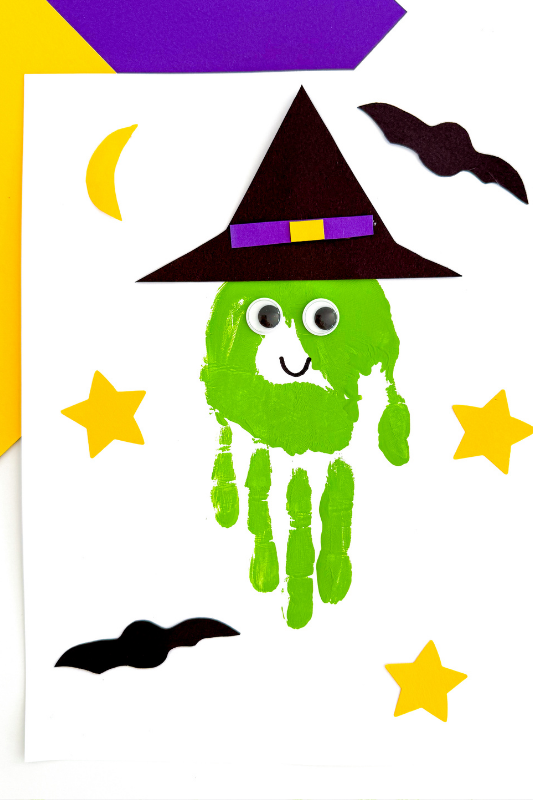
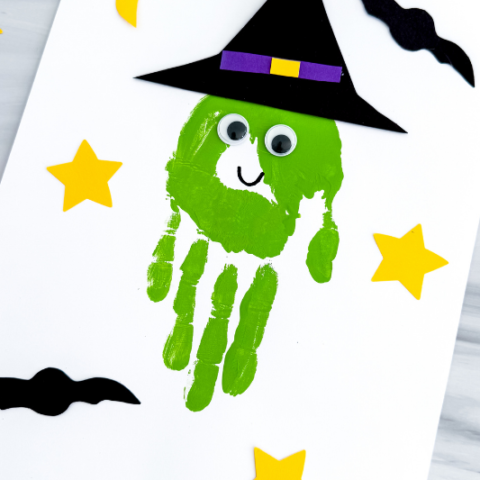
This handprint witch craft turns a simple painted handprint into a cute little Halloween witch, complete with a paper hat, googly eyes, and a spooky nighttime background.
It’s a nice easy Halloween activity for younger kids, and there’s plenty they can do themselves too. Once the handprint is dry, they can help build the witch’s hat and decorate around her with bats, stars, and a moon.
Why Kids Will Love This Witch Craft
There are lots of little jobs kids can get involved with here, from getting their hand covered in green paint to sticking on the googly eyes and decorating the background. And, of course, getting to paint their hand is probably going to be half the fun!
They can also make their witch as silly or spooky as they like. Give her a wonky smile, add loads of stars around her, or cut out a few extra bats. There really isn’t a right or wrong way for the finished witch to look.
What You’ll Need
You only need a handful of basic craft supplies to make this little witch, and you may already have quite a few of them tucked away in your craft cupboard. I’ve used the classic green, black, purple, and yellow Halloween colors here, but you can easily swap them around depending on what you have.
You’ll need:
- Black construction paper
- Purple construction paper
- Yellow construction paper
- White paper
- Green paint
- Paintbrush
- Googly eyes
- Black marker
- Scissors
- Glue
- Star paper cutter (optional)
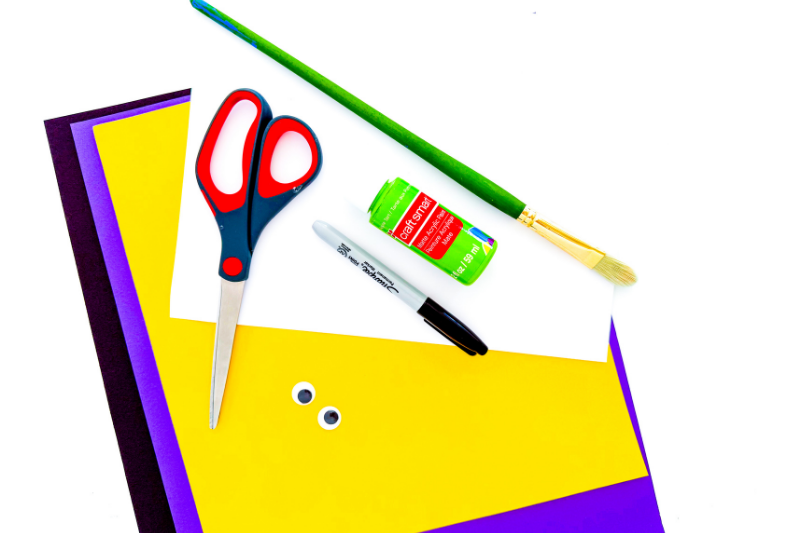
How to Make a Handprint Witch
Step 1: Use a paintbrush to cover the child’s hand with green paint.
Step 2: Press their hand onto the white paper with the fingers pointing down to create the witch’s face and hair.
Step 3: Carefully lift the hand away and leave the paint to dry completely.
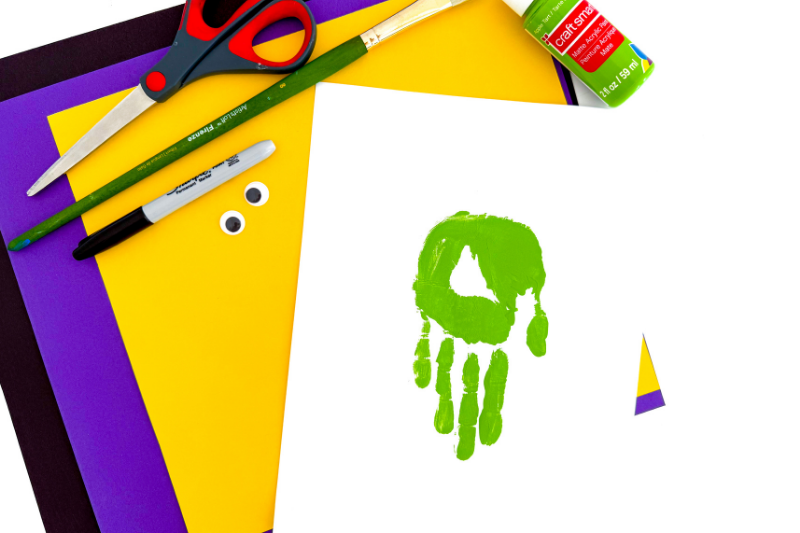
Step 4: Cut a witch hat shape from the black construction paper.
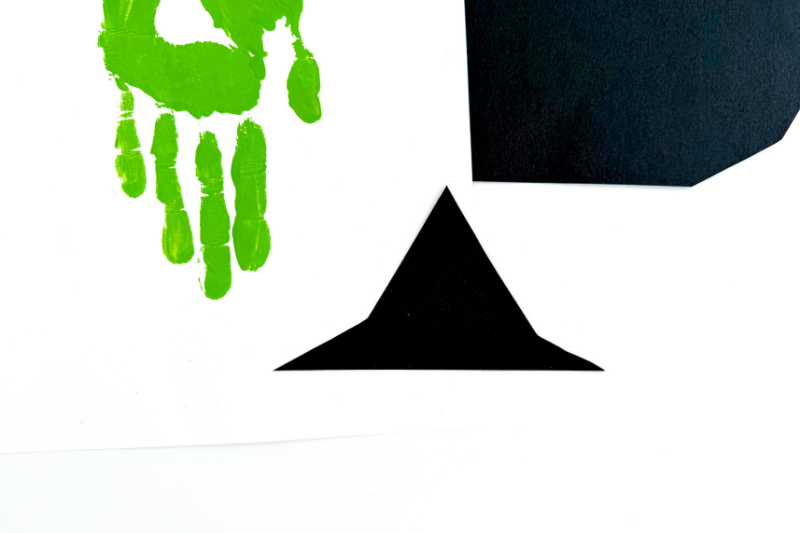
Step 5: Cut a strip of purple construction paper to make the band for the hat.
Step 6: Cut a small buckle from the yellow construction paper.
Step 7: Glue the purple band and yellow buckle onto the black hat.
Step 8: Once the handprint is dry, glue the finished witch hat above it.

Step 9: Glue the googly eyes onto the handprint to make the witch’s face.

Step 10: Use a black marker to draw on a smile.
Step 11: Cut bats, a moon, and stars from the construction paper, then glue them around the handprint to finish the Halloween scene.
Tips for the Best Results
Handprint crafts can get a little messy, so I’d definitely have some wipes or a damp cloth nearby before you start. Try not to use too much green paint either. You want enough to cover the hand properly, but a really thick layer can make the handprint smudgy and take much longer to dry.
When pressing the hand onto the paper, encourage your child to keep their fingers spread apart and press down firmly without moving their hand around. An adult can then help lift their hand straight up from the paper to keep the print nice and clear.
Make sure the paint is completely dry before adding the hat, googly eyes, and other decorations. If you’re making this with younger children, it’s also worth cutting out the smaller paper pieces beforehand so they can concentrate on the fun part of putting everything together.
Ways to Customize Your Handprint Witch
There are so many easy ways to change this little witch up and let kids make their own version. Swap the purple hat band for orange, pink, or any color they fancy, add some glitter to the hat, or use paper circles for the eyes if you don’t have any googly eyes.
You can have fun with the background too. Add a big yellow moon, lots of tiny stars, a few flying bats, or even draw a little broomstick beside the witch. Kids could also use stickers, sequins, or other bits from the craft box to decorate around their handprint.
And don’t worry if the handprint isn’t perfect. Wonky fingers, smudged paint, and slightly crooked hats all add to the fun, and every witch will end up looking a little bit different.
More Halloween Handprint Ideas
Once you’ve got the paint out, you could easily turn this into a whole afternoon of Halloween handprint crafts. Green handprints work really well for Frankenstein too, or try white paint for ghosts, orange for pumpkins, or black for spiders.
You could even make a few different ones and put them together as a Halloween picture or display. It’s also a fun way to use up the leftover construction paper, googly eyes, and other little bits you already have out from making your witch.
What Age Is This Craft Best For?
This is a lovely Halloween craft for preschool and elementary-age kids, although how much they can do by themselves will obviously depend on their age. Younger children can have fun making the handprint, sticking on the googly eyes, and adding the decorations, while an adult takes care of the trickier cutting.
Older kids can have a go at making the whole thing themselves, including cutting out their own witch hat, bats, moon, and stars. You can make it as simple or as detailed as you like, so it’s an easy one to adapt for different ages.
FAQs
What paint is best for handprint crafts?
Washable, non-toxic kids’ paint is the easiest option for handprint crafts. It’s much easier to clean off little hands afterwards, especially if you have wipes or a damp cloth ready as soon as you’ve made the print.
How do you make a witch handprint?
Paint your child’s hand green and press it onto white paper with their fingers pointing down. Once the paint has dried, add a black witch hat, googly eyes, and a smile to turn the handprint into a witch.
Can toddlers make this handprint witch craft?
Toddlers can definitely join in with making the handprint and adding some of the decorations, but they’ll need plenty of adult help. I’d have all the paper pieces cut out beforehand so they can concentrate on the painting and sticking.
Can I make this witch craft without googly eyes?
Yes! If you don’t have googly eyes, simply draw the eyes on with a black marker or cut small circles from white and black construction paper.
How long does a handprint craft take to dry?
This will depend on how much paint you use, but a thin, even layer will dry much quicker than a thick one. Leave the handprint completely flat and wait until the paint is dry before gluing on the hat and other decorations.
What can I use instead of construction paper?
Cardstock, colored printer paper, or scraps of craft paper will all work for the witch’s hat and decorations. You could even use patterned scrapbook paper for the hat band if you have some tucked away.
How can I turn this handprint witch into a Halloween keepsake?
Write your child’s name, age, and the year somewhere on the paper once you’ve finished. You could also pop it into a frame or keep it with your Halloween decorations and bring it out again each year.
Handprint Witch Craft
Turn a simple painted handprint into a cute Halloween witch with this easy kids’ craft. With green paint, construction paper, googly eyes, and a few basic supplies, kids can create their own spooky little witch complete with a hat, bats, moon, and stars.
Materials
- Black construction paper
- Purple construction paper
- Yellow construction paper
- White paper
- Green paint
- Googly eyes
- Glue
Tools
- Paintbrush
- Scissors
- Black marker
- Star paper cutter (optional)
Instructions
- Use a paintbrush to cover the child’s hand with green paint.
- Press their hand onto the white paper with the fingers pointing down to create the witch’s face and hair.
- Carefully lift the hand away and leave the paint to dry completely.
- Cut a witch hat shape from the black construction paper.
- Cut a strip of purple construction paper to make the band for the hat.
- Cut a small buckle from the yellow construction paper.
- Glue the purple band and yellow buckle onto the black hat.
- Once the handprint is dry, glue the finished witch hat above it.
- Glue the googly eyes onto the handprint to make the witch’s face.
- Use a black marker to draw on a smile.
- Cut bats, a moon, and stars from the construction paper, then glue them around the handprint to finish the Halloween scene.
Notes
- Washable, non-toxic paint works best for little hands.
- Avoid using too much paint or the handprint may smudge.
- Let the handprint dry completely before adding the decorations.
- Younger children may need help cutting out the smaller shapes.
- Have wipes or a damp cloth nearby for easy cleanup.
- Add your child’s name, age, and the year to turn it into a cute Halloween keepsake.