
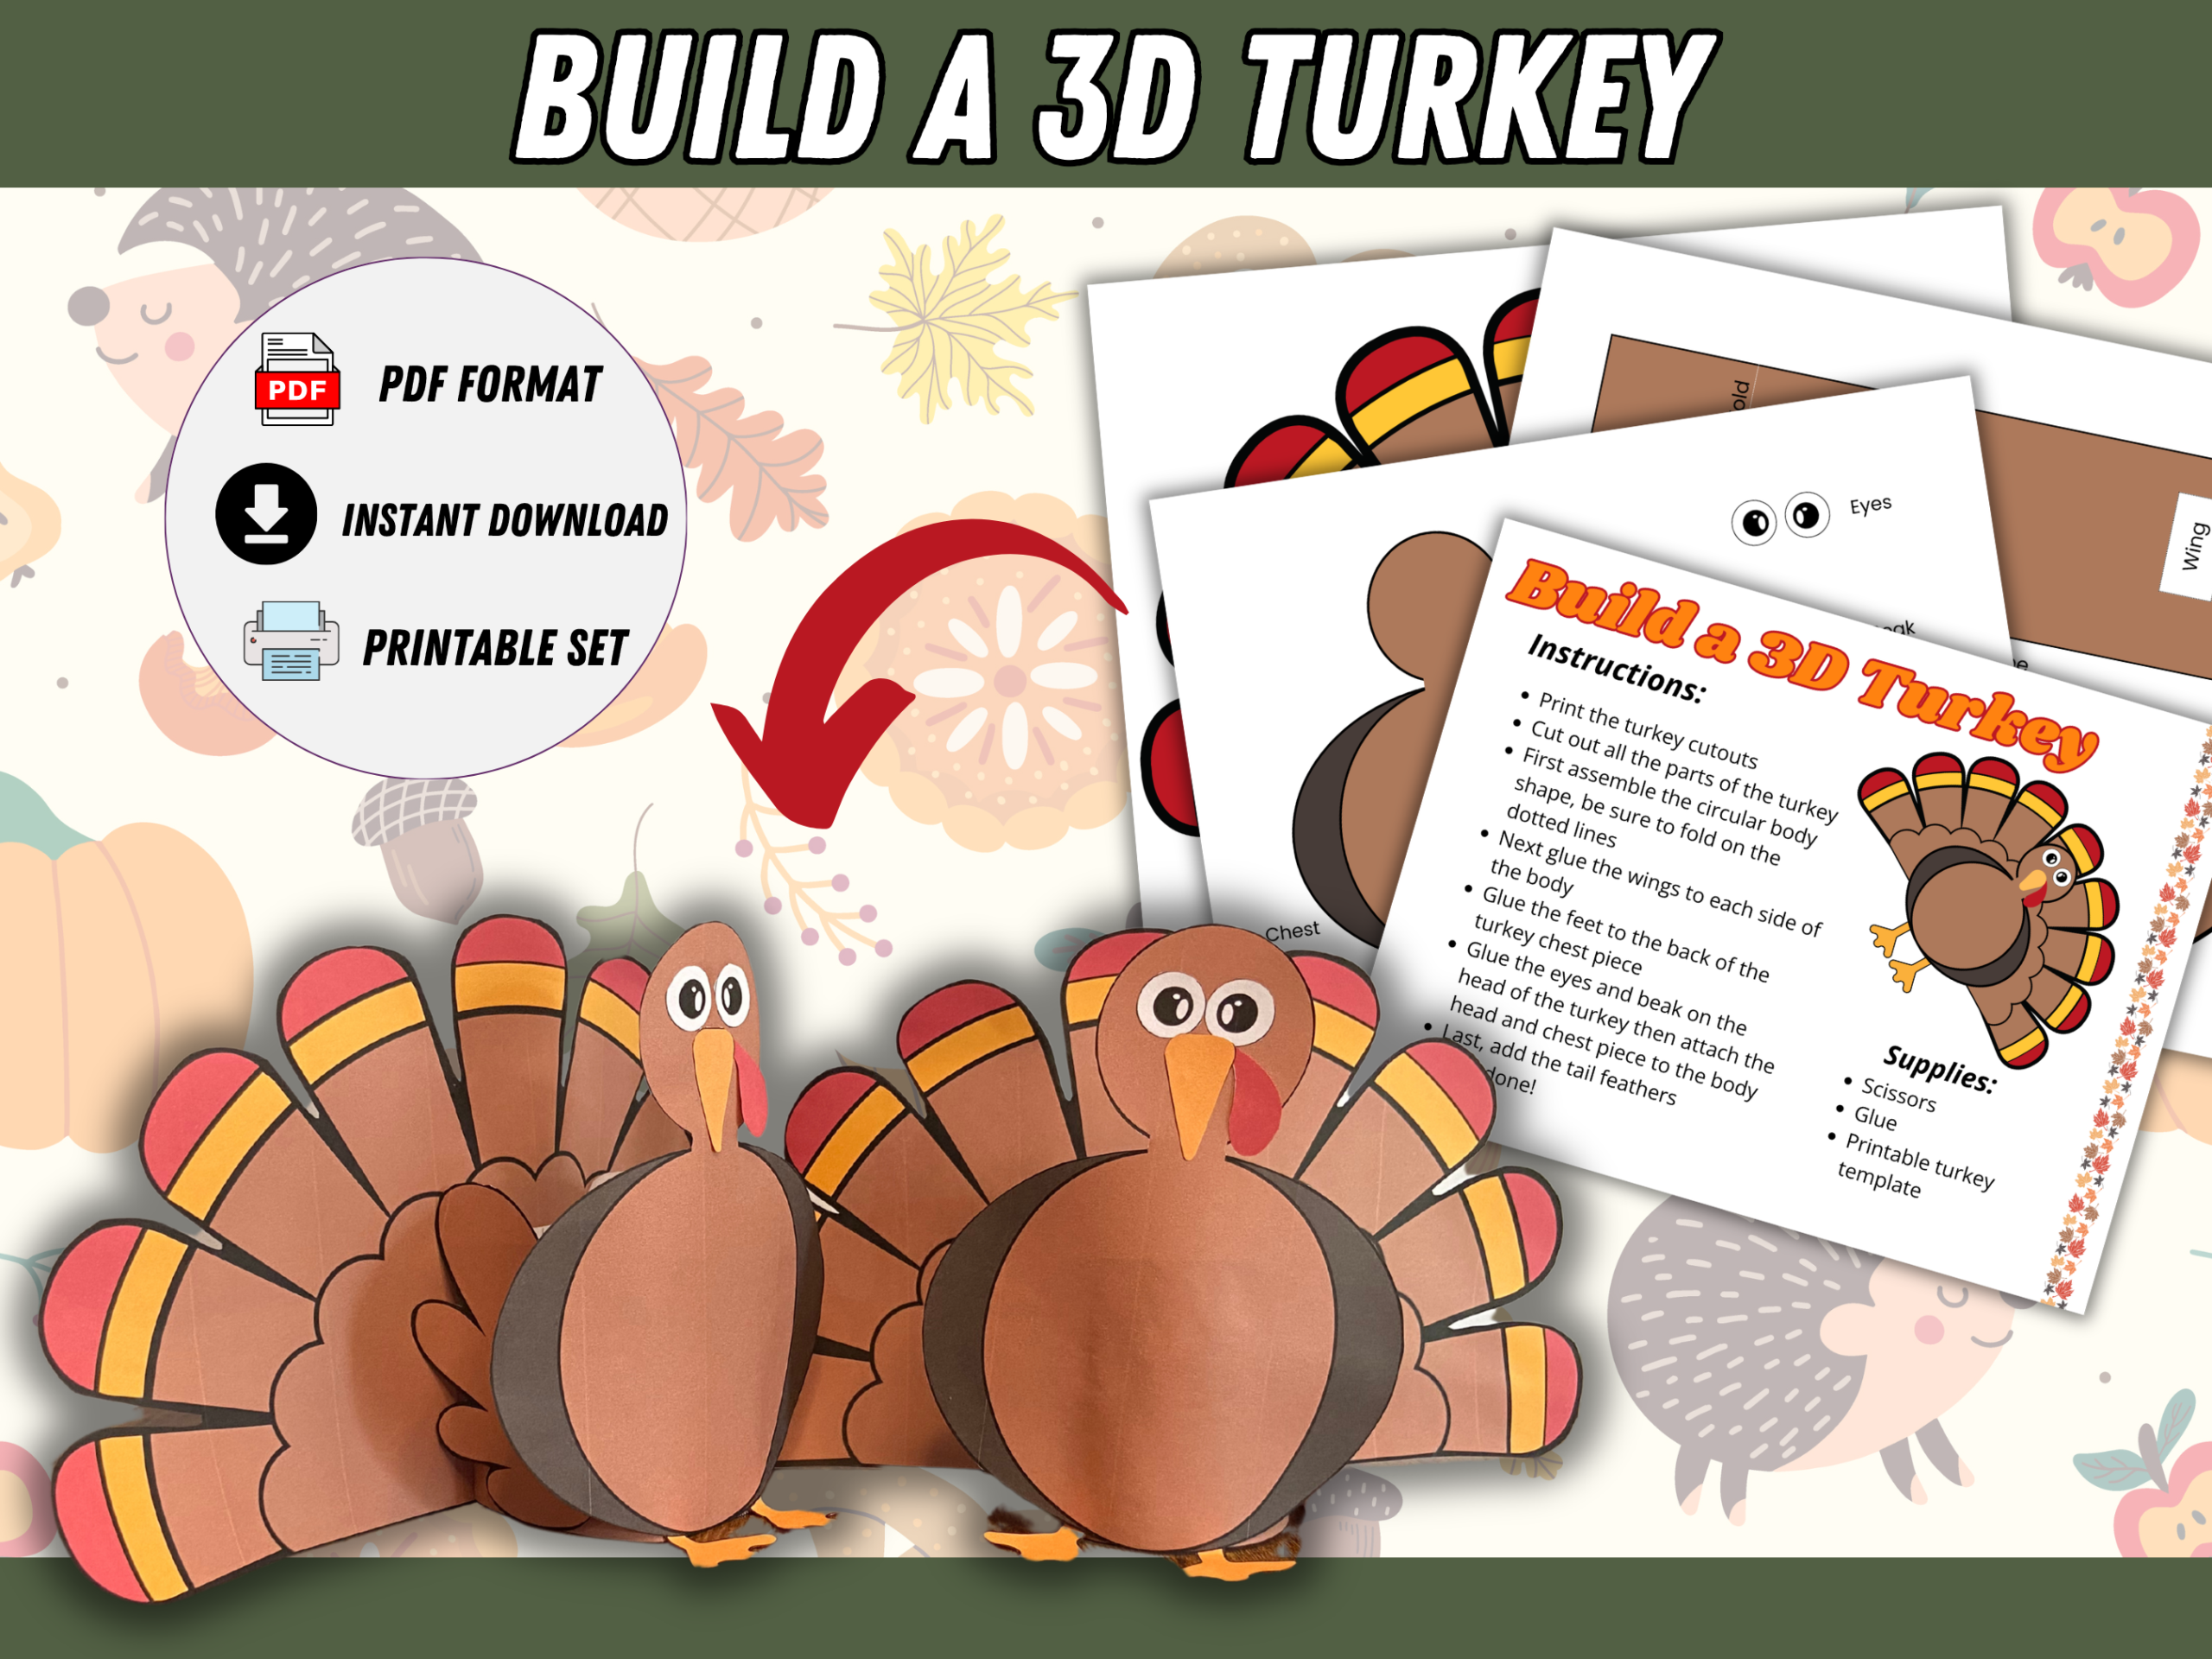
If you’re looking for a Thanksgiving craft that’s a little bit different from the usual coloring pages and flat paper crafts, this 3D turkey is such a fun one to try. It still uses a simple printable template, but the finished turkey has a rounded body so it actually stands out from the page.
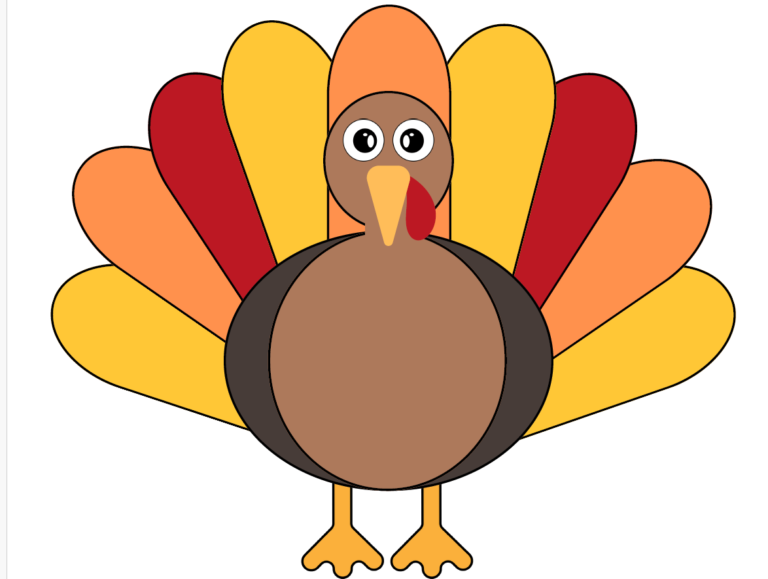
There’s a little bit of cutting, folding, and gluing involved, which makes it a lovely activity for kids who enjoy actually building something. Once everything is put together, you end up with a really cute turkey complete with wings, feet, a big colorful tail, and that slightly goofy turkey face that I love.
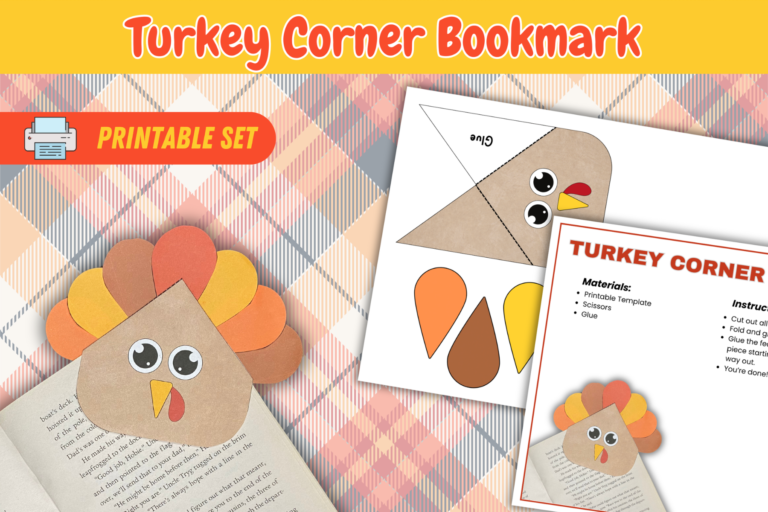
The printable itself includes all the separate pieces kids need, along with the body section that is folded on the dotted lines and glued into a circular shape.
Why We Love This 3D Turkey Craft
- It’s a little bit different. I love that this isn’t just another flat turkey craft. The rounded body gives it that fun 3D effect and makes the finished turkey feel a bit more special.
- Everything you need is on the printable. There’s no need to draw or measure anything yourself. Just print, cut out the pieces, and you’re ready to start.
- It keeps little hands busy. There’s plenty of cutting, folding, and gluing involved, so it’s a great Thanksgiving activity when you need to keep the kids entertained for a while.
- Kids can actually build something. Rather than simply coloring a picture, they get to put all the different turkey pieces together and watch it take shape.
- It’s great for practicing those little skills. Cutting around the pieces, folding the body, and deciding where everything goes are all nice ways to sneak in some fine motor practice without it feeling like work.
- The finished turkey is really cute. I especially love the big tail feathers and those slightly silly turkey eyes!
- It’s perfect for Thanksgiving. You could make these at home, in the classroom, at a Thanksgiving party, or even have the kids make them while you’re getting Thanksgiving dinner ready.
Download the Free 3D Turkey Printable
Ready to make your own little 3D turkey? You can download the free printable template below. Everything you need to build your turkey is included, so just print it out, grab some scissors and glue, and you’re ready to get started. I’d recommend printing it on slightly thicker paper or cardstock if you have some, just to help your turkey hold its shape a little better.
What You’ll Need
- Printed 3D Turkey template
- Scissors
- Glue
- White cardstock or thicker paper if you want your turkey to be a little sturdier
- A little bit of patience for all those turkey pieces!
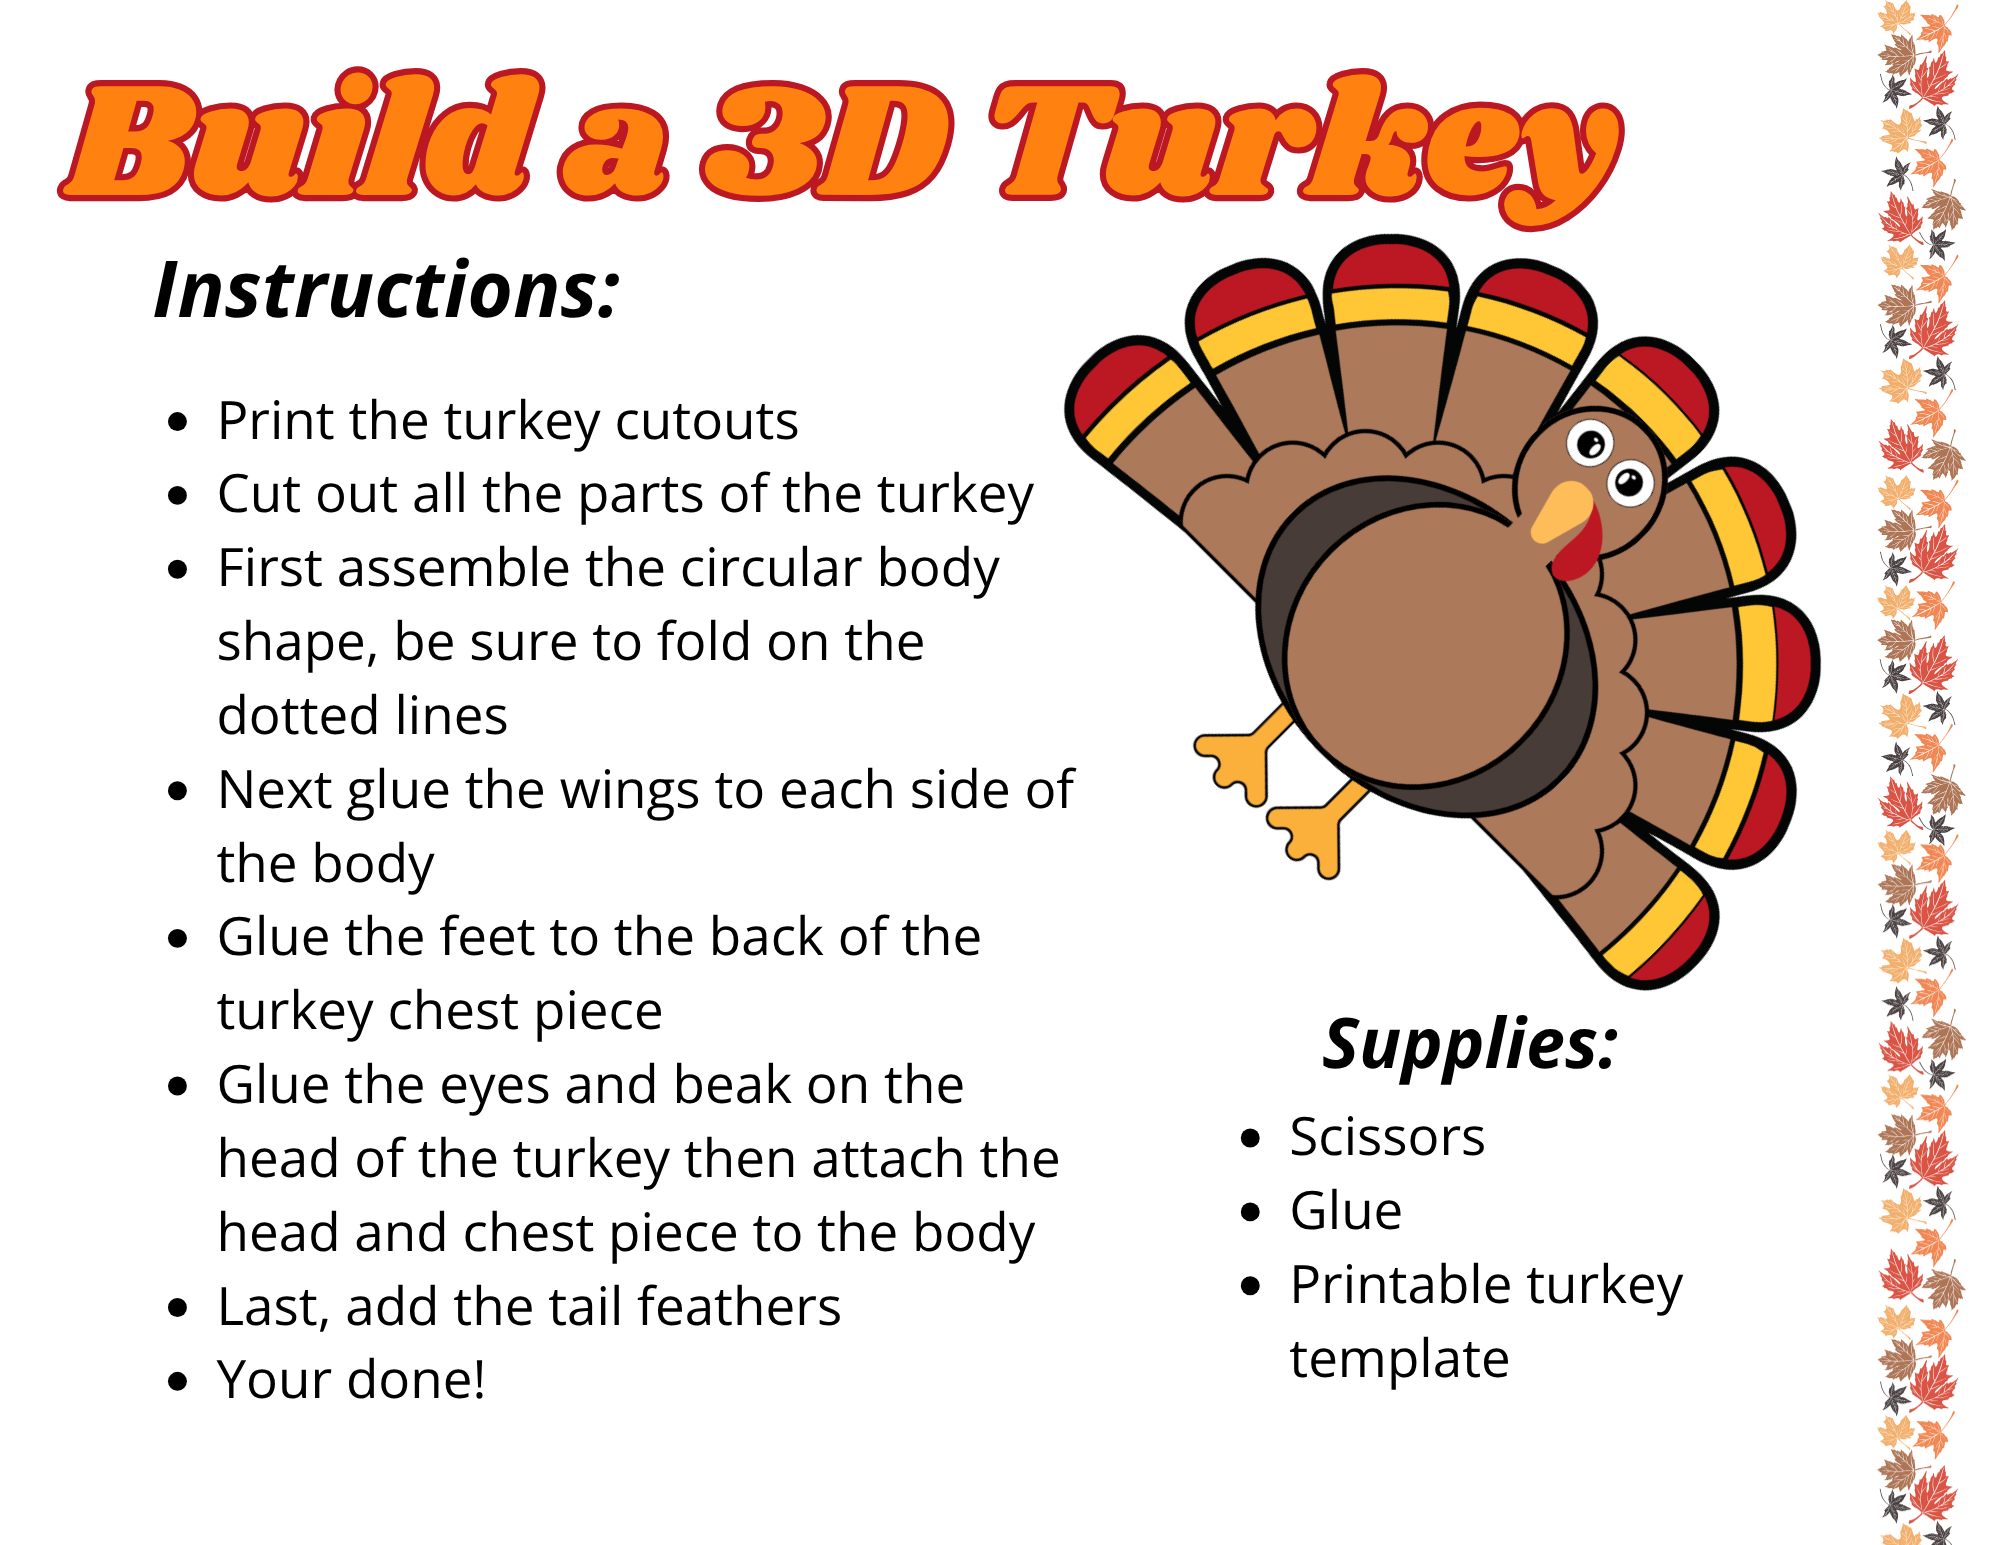
How to Make a 3D Turkey
- Start by printing out your 3D turkey template. I like to use cardstock for this one if I have it, as it helps the finished turkey keep its shape.
- Cut out all of the turkey pieces carefully. Younger kids might need a little help with some of the smaller pieces.
- Take the long body piece and fold along the dotted lines, then glue it together to make the rounded circular body. This is the bit that gives our turkey its 3D shape.
- Glue a wing onto each side of the body.
- Next, glue the feet to the back of the chest piece so that they peek out from underneath.
- Add the eyes and beak to the turkey’s head. You can use the finished turkey on the printable as a little guide if you’re not sure where everything should go.
- Once your turkey has a face, attach the head and chest piece to the rounded body.
- Finally, add those big tail feathers at the back and your 3D turkey is finished!
- Give the glue a little time to dry before moving your turkey around too much. Then you can find somewhere to display your new Thanksgiving friend!
Tips for Making Your Turkey
- If you have cardstock, I’d use that rather than regular printer paper. It just makes the 3D body a little sturdier and helps everything hold its shape.
- Take your time when cutting out the smaller pieces. There are quite a few little bits to this turkey, so younger kids might need a helping hand.
- Make sure you fold along the dotted lines on the body before you start gluing it together. This makes getting that rounded shape much easier.
- Don’t use too much glue, especially on the smaller pieces. A little goes a long way and you don’t want everything getting soggy while you’re trying to put your turkey together.
- I’d let the body dry for a minute or two before adding everything else. It’s much easier when you’re not trying to hold the body together while also attaching wings and turkey feet!
- Don’t worry if everything isn’t perfectly lined up. I actually think these little crafts look even cuter when every turkey turns out slightly different.
- If you’re making these with a group of kids, you could cut out some of the trickier pieces beforehand, particularly if you’re short on time.
Ways to Use Your 3D Turkey Craft
These little turkeys would be really cute made in the run-up to Thanksgiving and then used as part of your decorations. Pop them on a shelf, windowsill, or Thanksgiving table, or let the kids make a few and create their own little flock of turkeys. I think they’d make such a fun addition to the kids’ table on Thanksgiving Day too.
They’re also a lovely classroom or homeschool activity if you’re doing a Thanksgiving theme. You could make them as part of a lesson, use them for a Thanksgiving craft afternoon, or simply pull out the printable when you need something to keep the kids busy for a while. And because there’s cutting, folding, gluing, and assembling involved, it feels like a proper little project rather than something they’ll finish in two minutes.
3D Turkey Craft FAQs
What age is this 3D turkey craft suitable for?
This is a fun Thanksgiving craft for preschoolers and elementary-age kids, although younger children will probably need some help with the cutting, folding, and putting the smaller pieces together.
Do I need cardstock for the 3D turkey printable?
You don’t have to use cardstock, but I definitely recommend it if you have some. Regular printer paper will work, but slightly thicker paper helps the rounded turkey body hold its shape better.
What do I need to make this 3D turkey craft?
You only need the printable turkey template, scissors, and glue, so it’s a nice easy craft to put together without having to buy lots of extra supplies.
How does the turkey become 3D?
The body piece is folded along the dotted lines and then glued into a circular shape. You then add the wings, chest, head, feet, and tail feathers to build your turkey.
Can I make this Thanksgiving turkey craft with a group of kids?
Absolutely. This would be a really fun Thanksgiving classroom, homeschool, playgroup, or family activity. If you’re making it with younger kids, you could always cut out some of the smaller pieces beforehand to make things a little easier.
Can kids decorate their own 3D turkey?
Of course! The printable already has plenty of color, but there’s nothing stopping kids from adding their own little touches. They could add extra feathers, googly eyes, stickers, or even give their turkey a name.
Can I use the finished turkey as a Thanksgiving decoration?
Yes! Once it’s all put together, you could display your turkey on a shelf, add it to your Thanksgiving decorations, or use a few of them to decorate the kids’ table for Thanksgiving dinner.
Build a 3D Turkey
A fun 3D turkey craft for kids using our free printable template. Just print, cut, fold, and glue the pieces together to make your own cute Thanksgiving turkey.
Materials
- Printed 3D turkey template
- White cardstock or paper
- Glue
Tools
- Printer
- Scissors
Instructions
- Print out the 3D turkey template.
- Carefully cut out all of the turkey pieces.
- Take the long body piece and fold along the dotted lines. Glue the ends together to create the rounded 3D body shape.
- Glue one wing onto each side of the body.
- Glue the feet to the back of the turkey chest piece.
- Glue the eyes and beak onto the turkey’s head.
- Attach the head and chest piece to the rounded body.
- Finally, glue the tail feathers onto the back of the turkey and allow everything to dry.
Notes
- Cardstock works best as it helps the 3D body hold its shape.
- Younger kids may need a little help cutting out the smaller pieces.
- Fold the body carefully along the dotted lines before gluing.
- Use just a small amount of glue so the paper doesn’t get too wet.
- Allow the glue to dry before displaying your finished turkey.